You have only a few seconds to make buyers fall in love with a Penrose bungalow online. The right angles, timing, and sequencing can showcase the porch, flow, and livability that make South Arlington homes so appealing. If you want photos that invite buyers in and tell a clear story, this guide gives you a practical shot list and simple camera tactics tailored to Penrose.
Below, you’ll find the angles that work, when to shoot, and how to frame the porch-to-living connection buyers care about most. Let’s dive in.
Why angles matter in Penrose
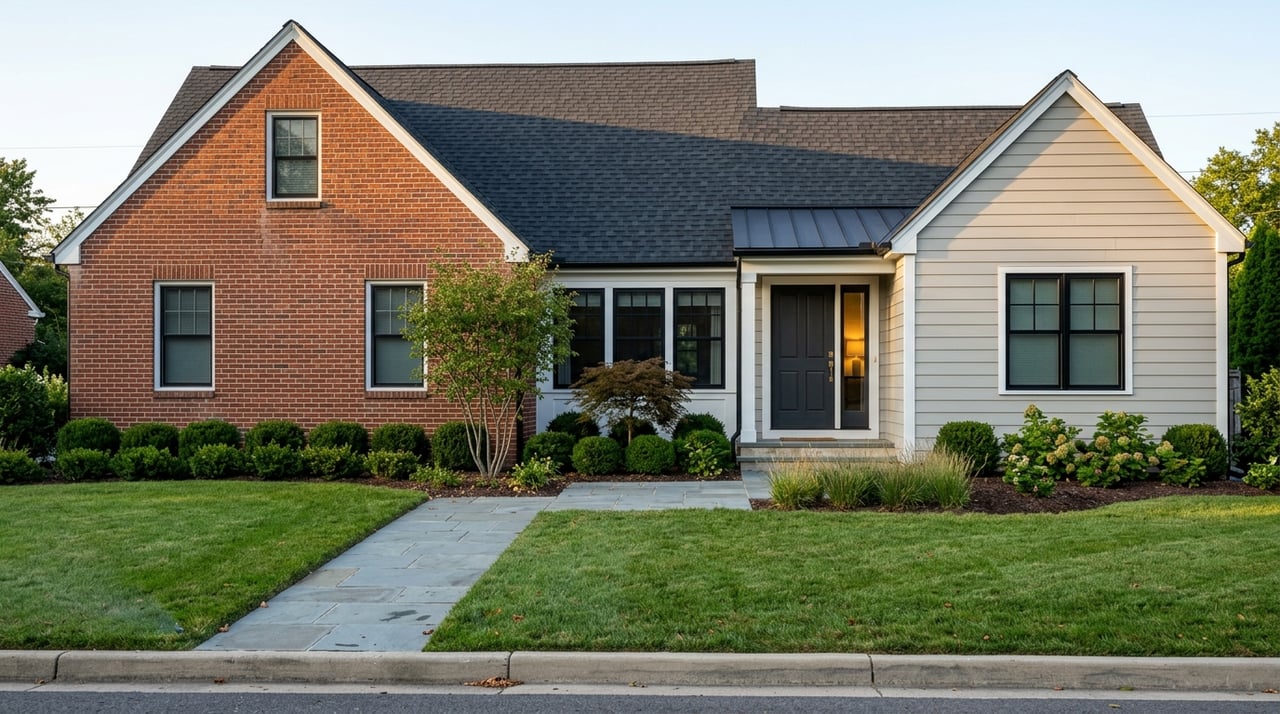
Penrose bungalows often sit on compact, tree-lined lots with sidewalks close to the street. Photos that include a bit of the streetscape help buyers read curb appeal and walkability. They also highlight the porch’s relationship to daily life.
Most bungalows here feature low, horizontal rooflines, a deep front porch, tapered or square columns, and exposed rafters or knee braces. These are assets. Your photos should show porch depth, the entry sequence, and warm wood details that signal craftsmanship.
Northern Virginia light shifts with the seasons. Spring and early fall bring the most flattering foliage. Summer midday sun can be harsh, so lean on golden hour and blue hour for exteriors year-round.
Exterior angles that sell
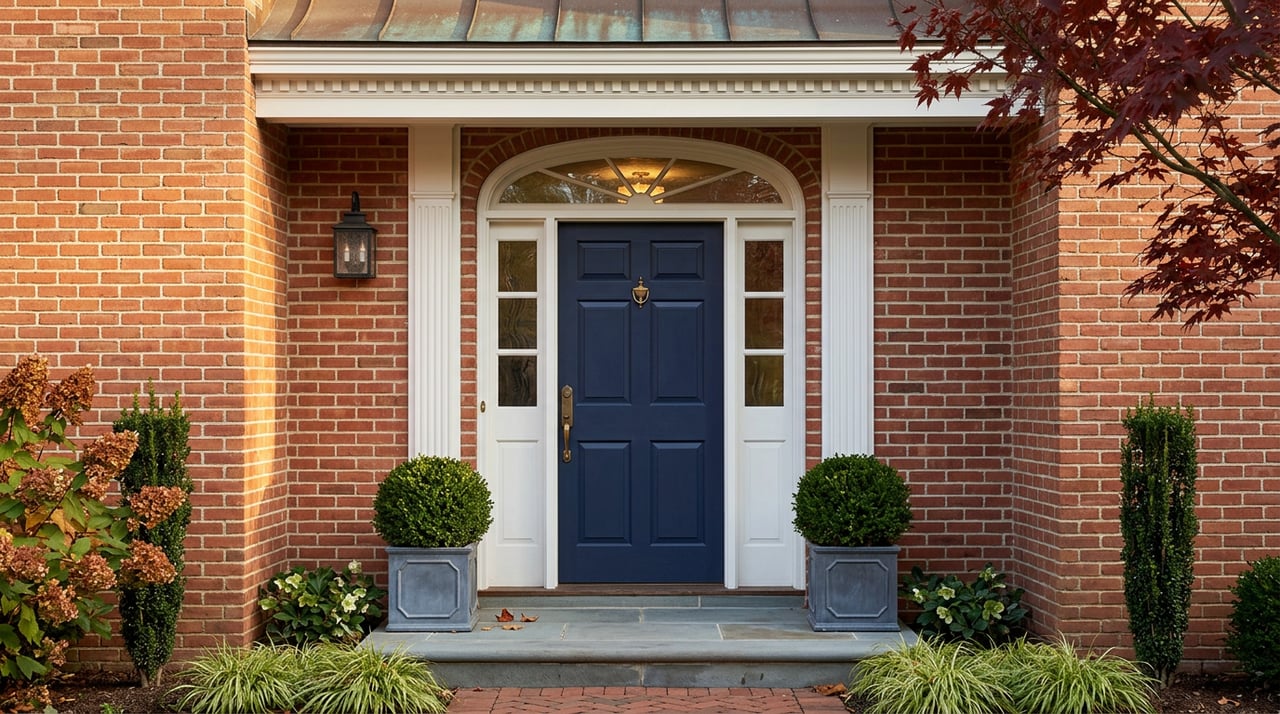
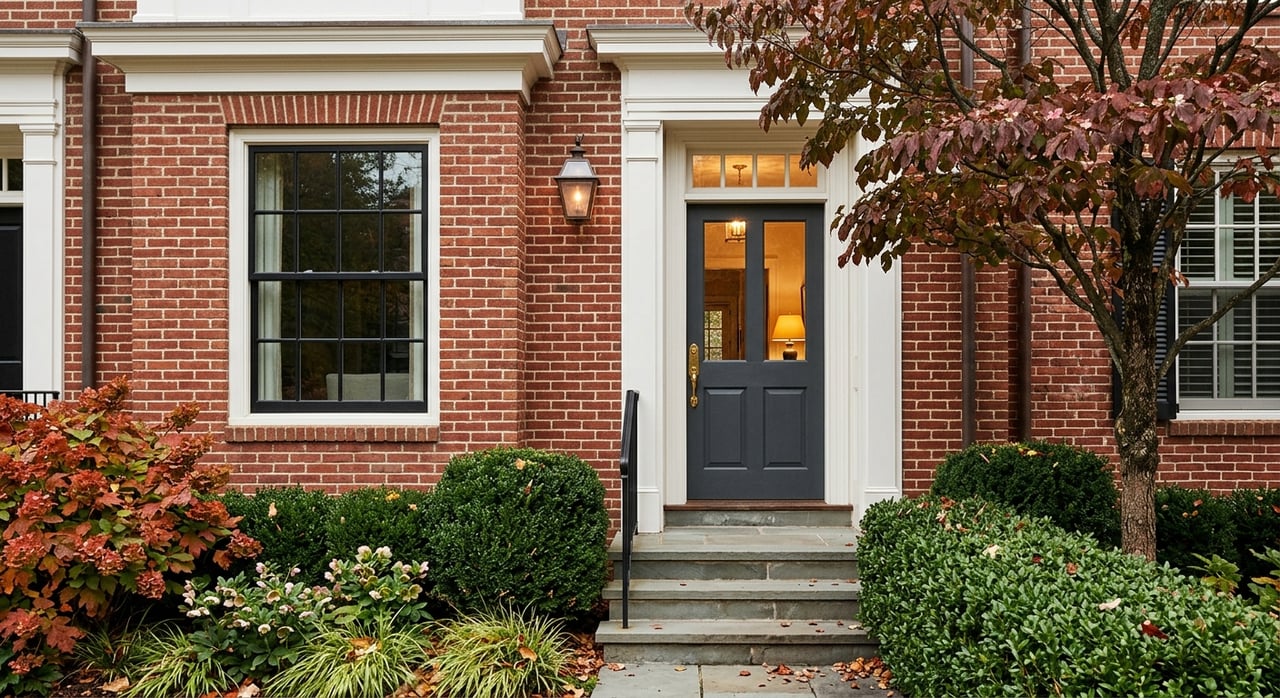
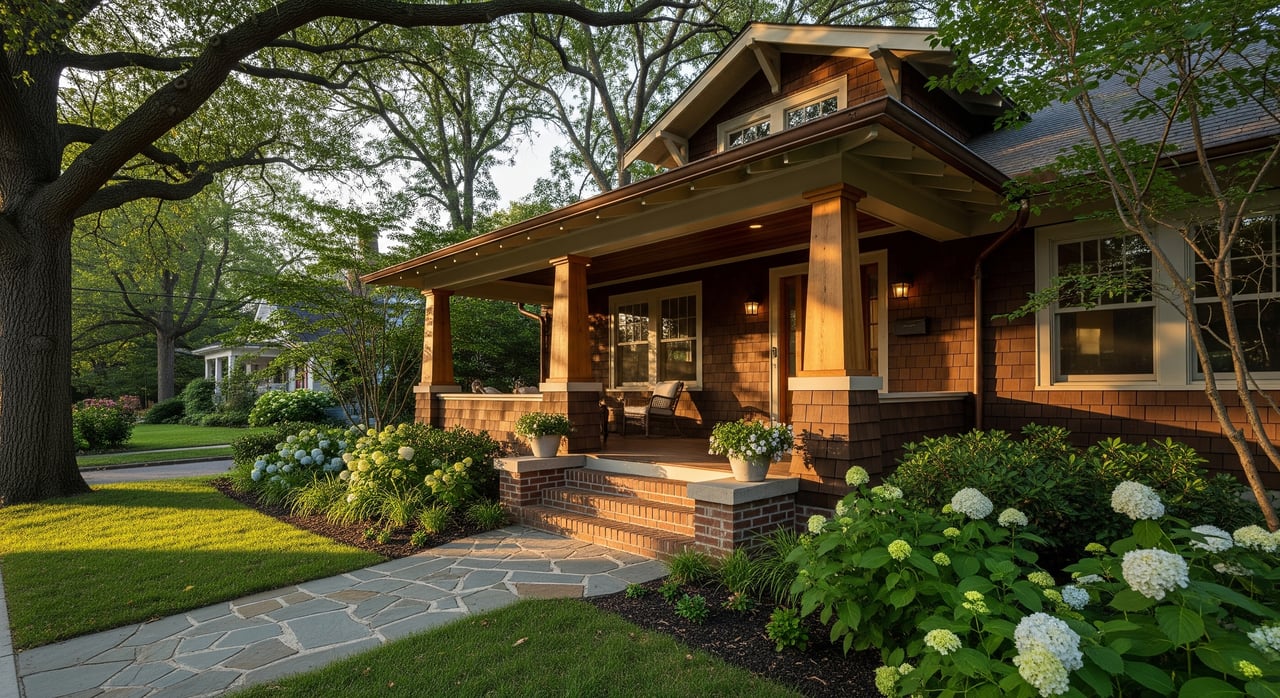
Front hero at 3/4 view
- Stand at the sidewalk or front yard and shoot a 3/4 angle at eye level, roughly 4 to 5 feet high.
- Show the porch, roofline, and a slice of yard so buyers can feel the home’s scale and setting.
- Avoid a straight-on shot that flattens the facade.
Lower vantage for porch depth
- Drop to 3 to 4 feet and angle 15 to 25 degrees to emphasize the porch’s depth and roof forms.
- Keep vertical lines straight for a clean, architectural feel.
- If a tilt-shift lens is available, use it to control perspective.
Blue hour mood
- Capture a twilight exterior 20 to 40 minutes after sunset with exterior lights on.
- This can be your most compelling hero image and pairs well with daytime exteriors.
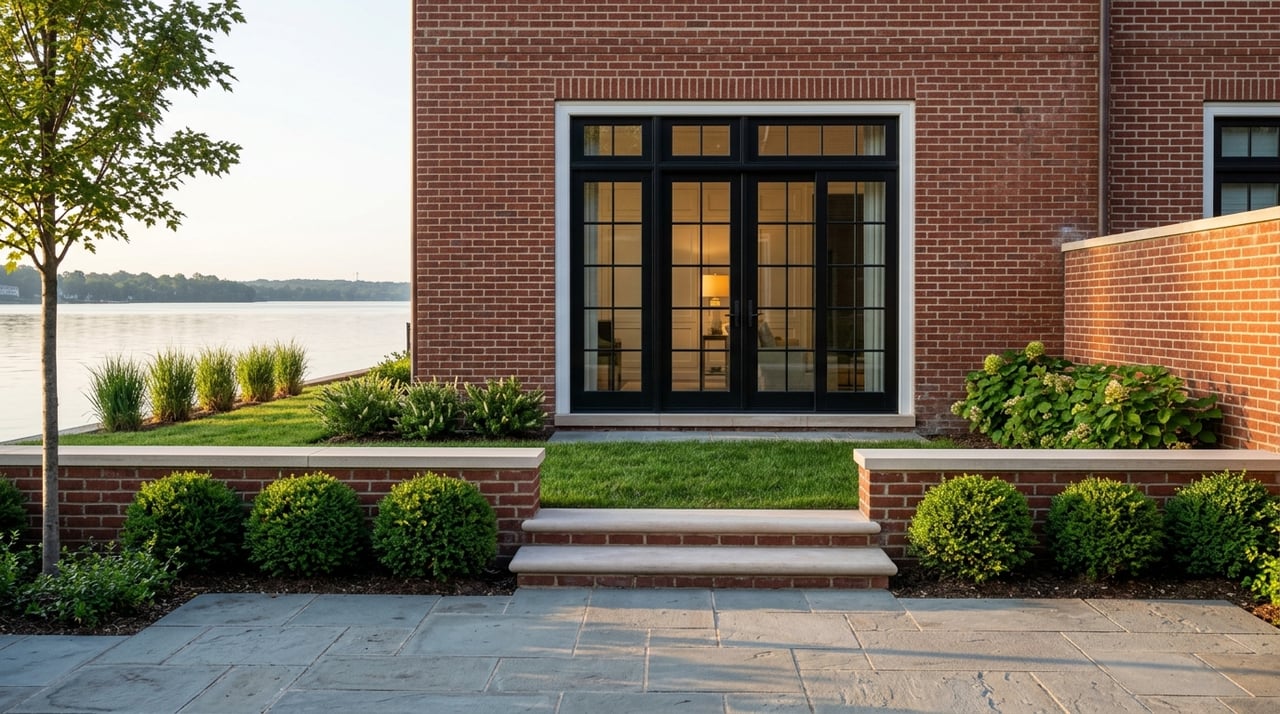
Side and rear context
- Frame the driveway, alley access, deck, or patio with clean lines and even light.
- Include a full-lot view if possible so buyers see how the home sits on the property.
Streetscape for walkability
- A tasteful street view with sidewalk and tree canopy helps buyers gauge neighborhood character.
- Avoid house numbers and license plates when possible.
Lead with the porch story
The porch is the heart of a Penrose bungalow. Make it feel like an outdoor room.
- Photograph one view that includes seating, the front door, and a light fixture.
- Create a second, wider view that shows how two or three people could relax or entertain.
- Stage lightly with neutral cushions or a throw to suggest comfort without clutter.
Interiors that preserve proportion
Bungalow rooms can run compact. Choose angles that reveal scale without distortion.
Living room
- Take a corner shot from the doorway that shows the fireplace, trim, and the opening to the dining room or kitchen.
- Keep vertical lines level and choose a modest wide focal length so the room feels true-to-life.
Dining room
- Frame a corner view that connects living to dining and, if possible, to the kitchen.
- A single composition that reads living to dining to kitchen clearly communicates flow.
Kitchen
- Capture a straight-on image of the primary cabinet run or work triangle.
- Add a corner or entry shot to show counters, natural light, and sightlines to the dining room.
Bedrooms
- Use a corner angle that shows size, windows, and any built-ins or closet features.
- For secondary bedrooms, one honest, well-lit shot each is often enough.
Bathrooms
- Shoot straight-on at the vanity, then a second angle showing shower or tub.
- Manage reflections and clear counters for a tidy, spa-like feel.
Lower level
- Show the main usable area and storage or entry points.
- Keep lighting even so scale and finishes read clearly.
Show indoor to outdoor flow
- From inside, frame a view to the porch, patio, or yard through an open door or large window.
- On the porch, aim a shot toward the sidewalk to show the home’s gentle transition to the street.
- These views underscore livability and daily ease.
Lenses and settings that flatter
- Primary wide: 24 to 35 mm full-frame equivalent for most interior and exterior scenes.
- Ultra-wide: 16 to 20 mm only when necessary in tight rooms, and correct carefully to avoid exaggeration.
- Standard and portrait: 35 to 50 mm for cropped room views and details.
- Short telephoto: 85 to 135 mm for compressed porch or street views and architectural details.
Technical tips:
- Shoot RAW with exposure brackets at plus or minus 1 to 2 EV for interiors to preserve window views.
- Use f/8 to f/11 for interiors and f/5.6 to f/8 for details.
- Keep ISO low, use a tripod and a bubble level, and match white balance across rooms.
- A circular polarizer helps deepen skies and tame glass reflections.
Time-of-day scheduling
- Front elevation: choose golden hour at sunrise or sunset based on the home’s orientation.
- Twilight: plan 20 to 40 minutes after sunset for the lit exterior.
- Interiors: photograph east-facing rooms in the morning and west-facing rooms in the afternoon for softer light.
- Overcast days: excellent for even exteriors and reflections control.
Staging and prep checklist
Before the shoot, plan a quick spruce so every angle works for you.
- Remove cars from the driveway and curb out front.
- Mow, trim, sweep, and clear toys or yard tools.
- Stage the porch with one or two chairs, a small table, and simple decor.
- Indoors, declutter surfaces, hide bins, tidy closets, and make beds.
- Turn on all interior and exterior lights 15 to 30 minutes before twilight.
Workflow and delivery for MLS
- Bracket and blend exposures for natural window detail. Prioritize realistic tones over heavy HDR.
- Correct perspective subtly and keep room proportions honest.
- Retouch small distractions like trash cans or parked cars when feasible.
- Deliver web-ready JPGs in sRGB at about 2,000 to 3,000 pixels on the long edge, and archive RAW files.
- Name files in viewing order, for example: 01_HeroExteriorDay.jpg, 02_LivingRoom_Corner.jpg.
Drone and neighborhood context
Aerials can help show lot footprint, rear yard, and proximity to green space. If you choose drone images, follow the rules.
- Ensure the pilot is Part 107 certified and check controlled airspace near Washington-area airports.
- Review Arlington County and any HOA rules for photography or park use.
- Respect privacy by avoiding neighbors’ windows and sensitive details.
A simple 30-shot gallery plan
Use this to build a complete, scroll-friendly story for a Penrose bungalow.
- 1 to 2: Daytime front hero at 3/4 and a lower vantage.
- 3: Twilight exterior with lights on.
- 4 to 5: Side and rear elevations.
- 6 to 7: Porch as a room, plus a porch detail.
- 8 to 9: Street context with trees and sidewalk, and a full-lot view.
- 10 to 12: Living room, including a fireplace and flow shot.
- 13 to 14: Dining room, including a flow composition.
- 15 to 17: Kitchen straight-on and corner views, plus a detail if warranted.
- 18: Primary bedroom.
- 19 to 20: Secondary bedrooms.
- 21 to 22: Bathrooms, vanity and tub or shower angles.
- 23: Lower level main area.
- 24 to 26: Patio, yard, and side yard or garden.
- 27 to 29: Architectural details like trim, built-ins, window sash, and fireplace surround.
- 30: Optional drone overview if compliant and useful.
Ordering shots for impact
Start with your strongest exterior hero, then move through the living spaces in a way that mirrors a walk-through. Close with outdoor living, neighborhood context, then details. This sequence helps buyers build a mental floor plan and remember the home for its flow and livability.
Ready to list in Penrose?
If you want your bungalow to shine from the first click, lean on design-forward staging, porch-first storytelling, and disciplined image order. A curated gallery that honors true proportions and livability will draw more attention and help buyers see themselves at home.
When you are ready, schedule a consultation with Caitlin Platt. You will get hands-on seller prep, editorial presentation, and a polished marketing plan tailored to your South Arlington goals.
FAQs
What is the single most important Penrose exterior shot?
- A well-exposed 3/4 front elevation that shows porch depth and the entry sequence, captured during golden hour or blue hour.
Which lens range works best for bungalow interiors?
- A 24 to 35 mm full-frame equivalent handles most rooms without distortion, with ultra-wide used sparingly for tight spaces.
When should I photograph the front of a South Arlington bungalow?
- Shoot at golden hour based on the home’s orientation for warmth, and add a twilight exterior 20 to 40 minutes after sunset for mood.
How many photos should a Penrose bungalow listing include?
- Plan for about 25 to 40 images to cover exterior heroes, main living areas, kitchen, baths, bedrooms, outdoor living, details, and neighborhood context.
Can I use a drone over Penrose in Arlington County?
- Possibly, as long as you comply with FAA Part 107, check local restrictions and controlled airspace, and respect neighbor privacy.